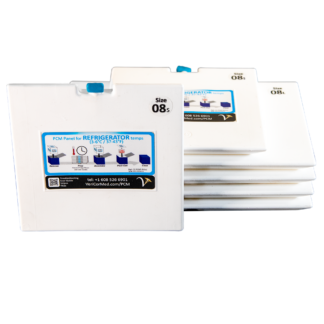
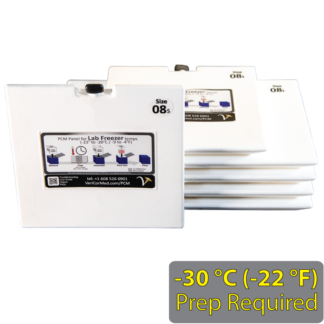
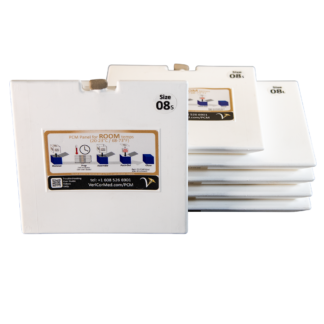
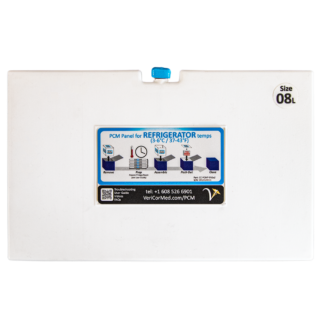
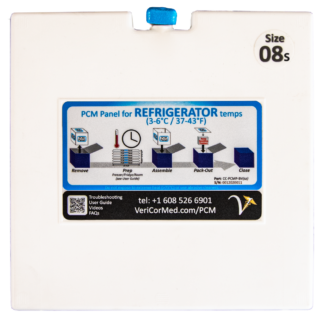
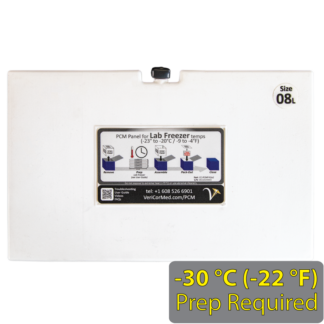
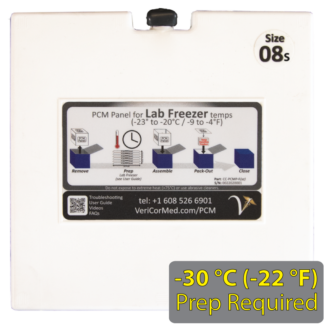
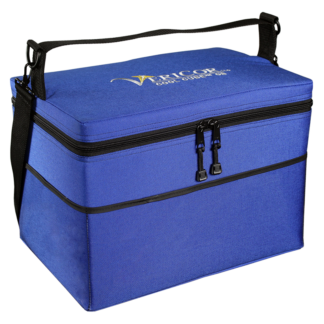
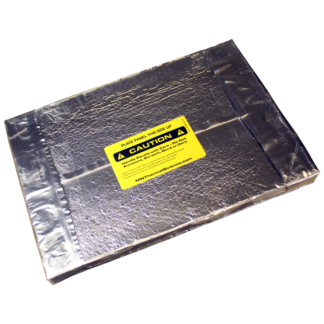
With just a few easy steps, most of the parts and pieces of the Cool Cube™ 08 can be replaced or swapped out. Click on any of the components below for more information. But if you need help finding the right part, call (608) 526-6901 or send an email to info@vericormed.com.
Replaceable Parts of the Cool Cube™ 08 (all temperatures)
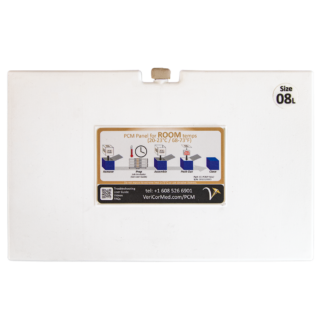
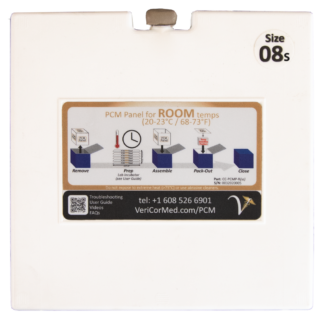
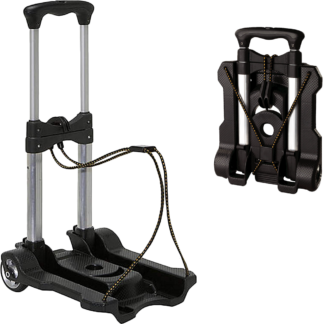

Easy & Safe Pack-Out